Create Beauty Product Comparison Charts
Creating beauty product comparison charts is actually a pretty smart way to keep track of your skincare and makeup options. With so many brands, ingredients, and claims out there, things get confusing fast. I’ve found that laying it all out visually helps cut through the hype and makes choosing the right product a lot easier.
Maybe you’re someone who loves testing new beauty launches, or you’re just trying to figure out which moisturizer won’t clog your pores. Whatever your goal, a well-organized chart can guide your decisions, help avoid wasted money, and make shopping way less overwhelming.
In this guide, I’ll walk through the steps I use to create simple, helpful comparison charts for beauty products. I’ll cover what information to include, how to actually build the chart, ways to personalize it, and tips to keep it updated. You’ll finish with a chart that works for you, not a generic onesizefitsall list.
Step 1: Decide What Products to Compare
The first thing to figure out is which beauty products deserve a spot on your chart. I usually think about the items I’m most interested in, what’s already in my stash, and what I’m looking to buy. You don’t have to compare every single type of product, just focus on what matters to you right now.
Common Product Categories
- Moisturizers
- Cleansers
- Serums (Vitamin C, hyaluronic acid, retinol, etc.)
- Sunscreens
- Foundations or BB creams
- Mascara, eyeliners, or other makeup staples
You can always add more categories as your chart grows. I recommend picking three to six products to start, which gives you a useful comparison without making it confusing.
For folks who are really into beauty, you might want to dedicate a different chart for each of your concerns, like dry skin versus antiaging. That way, your comparisons stay organized and relevant.
Step 2: Choose What Features to Track
This is the heart of your chart. I like to think about the factors that matter most for my skin type, concerns, and budget. The trick is to include just enough details without making things overwhelming. Here are some features I always find helpful:
- Price – How much it costs for a standard size
- Ingredients – Star ingredients and any allergens or irritants
- Skin Type Suitability – Best for oily, dry, combo, or sensitive?
- Texture & Finish – Creamy, gel, dewy, matte, lightweight?
- SPF Rating (for sunscreens or SPF makeup)
- CrueltyFree/Vegan – Label if that’s important to you
- Fragrance – Unscented or has a strong scent?
- Where to Buy – Drugstore, Sephora, online only?
- Personal Rating – Your own experience or notes
You don’t need to use all these categories. Just pick the ones that really help you narrow down choices. If you’re sensitive to fragrance, highlight that. If value is your thing, focus on price per ounce.
You might also want to track things like packaging (pump vs. jar), ecofriendliness, or ease of travel. Adding these details makes the chart way more personalized and useful for your goals.
Step 3: Collect Product Info the Easy Way
The best part about building your own comparison charts is you can be as detailed or as relaxed as you want. I like to mix in the info brands provide with personal experience and reviews from friends or Reddit. Here are some tips for gathering details:
- Check official websites for full ingredient lists and pricing
- Look for thirdparty reviews on sites like Beautypedia, Influenster, or Reddit beauty threads
- Grab in-store pamphlets or testers, if you can
- Read product packaging for certifications and warnings
- Take your own notes after trying samples or mini sizes
If you keep the sources clear, it’s easier to update your chart if brands make changes to formulas, which happens more often than you might think. Also, consider making a running log of the dates you tested products. That way, you can remind yourself how long you’ve used something and if your results changed over time.
Step 4: Build Your Comparison Chart
I love how simple it is to lay out a comparison chart; no fancy software needed. You can use paper, a notepad app, Google Sheets, or downloadable templates online. Here’s how I usually set it up:
DIY Paper or Notebook Chart
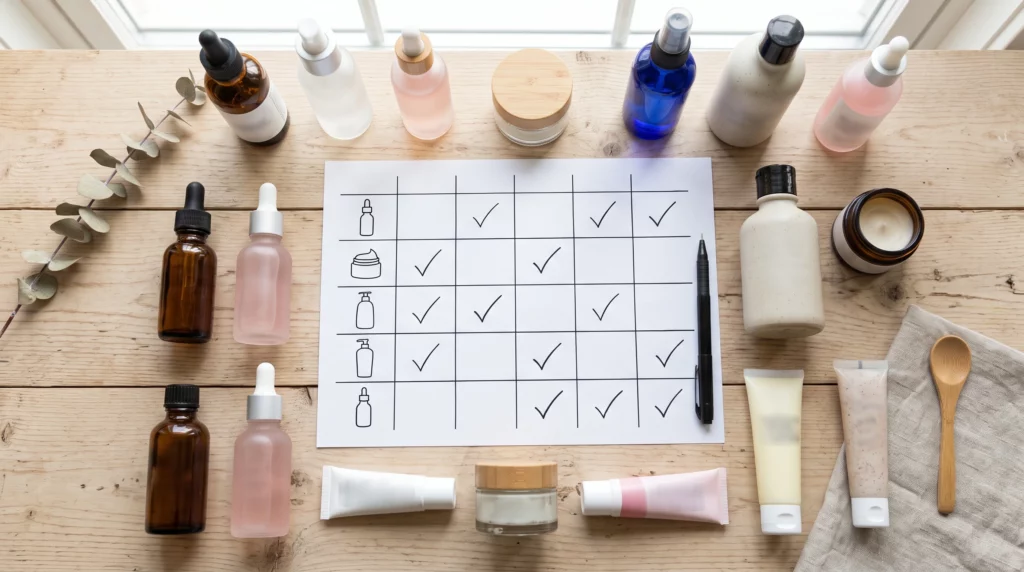
- Draw a grid or table. Each product gets its own column.
- List features (from Step 2) as rows on the left.
- Fill in each box with the info for each product.
Digital Charts (for Easy Updates)
- Set up a spreadsheet with headings for product names.
- List all key features in the first column.
- Copy and paste or type in product details as you research.
- Colorcode favorites or highlight “dealbreakers.”
If you want to take it up a notch, tons of websites let you make interactive comparison tables that you can sort by price, rating, or another factor you care about. Doing it digitally can also make it easy to share with friends, which comes in handy if you swap skincare tips.
Adding photos or swatches to your digital chart can help you spot undertones, shades, or packaging differences more easily. Don’t hesitate to snap a quick phone photo and include it in your spreadsheet for reference.
Step 5: Personalize and Make Judgments
What takes a chart from useful to eye-catching is your own notes. I keep a “personal rating” or “final thoughts” row for each product based on how it feels, smells, or layers under makeup. Here’s what I look out for:
- First impressions after a week or two
- Any reactions or breakouts
- How well it works with other products in my routine
- Would I repurchase, or pass next time?
This part is really important because everyone’s skin is different. What works for one person could be a miss for you, so trust your experience. Don’t be afraid to write candid notes about scent, absorption, or packaging issues. After all, future you will thank present you for being honest!
Also, keep in mind that sometimes, time of year or climate can change how a product works for you. Noting the season can help make better choices later on.
Step 6: Keep Your Chart Updated
The beauty world moves fast. Brands roll out new products, formulas get switched up, or your own skin needs may mix it up with the seasons. I try to update my comparison chart every few months or whenever I try something new.
Easy Ways to Stay Organized
- Set a reminder to review your chart monthly or after a big sale
- Flag discontinued items so you don’t waste time hunting for them
- Add notes if a favorite product changes formula or becomes less effective over time
Having this updated list saves time when I’m in a rush or tempted by a sale. It also keeps my routine streamlined, so I don’t end up with three open bottles of the same serum.
Bonus tip: If you use multiple devices, store your chart somewhere you can access from anywhere, like in a cloud note or Google Drive. That way, you can check your notes when you shop in-store or online.
Common Questions & Troubleshooting
What if I’m totally new to skincare or makeup?
I recommend starting super small. Pick one category (like moisturizers) and compare three products. Add categories as you gain confidence. Simple is better when you’re just getting started.
What’s the best way to compare ingredients?
If you don’t know much about ingredients, check ingredient analysis websites like INCIdecoder. They make it less intimidating by breaking down what each ingredient does. You can also look for basic guides online that explain what things like “niacinamide” or “ceramides” do for your skin.
How do I deal with “holy grail” products that are actually duds for me?
Everyone’s skin is unique. It’s totally normal to see rave reviews for something that just doesn’t work for you. That personal rating row in your chart is where you get honest. No product is universally perfect, so don’t worry if your picks are different than what’s trending.
Action Steps: Start Comparing Beauty Products Today
Taking the time to make a beauty product comparison chart pays off every time you shop or want to streamline your routine. Whether you want the best value, safest option, or just something that feels nice, seeing things side by side makes choosing a lot less overwhelming.
Quick Start Checklist:
- Pick one category and three to five products to compare
- Select features to track (like price, ingredients, texture)
- Gather info from official sites and your own testing
- Fill in a paper or digital chart
- Update the chart as you try new things or products change
Give it a try and see how much easier beauty shopping and routine planning gets. What will your first chart compare? Share your ideas below— I’m always curious to see how others approach it!
Beauty Flashcards: Take the test
-
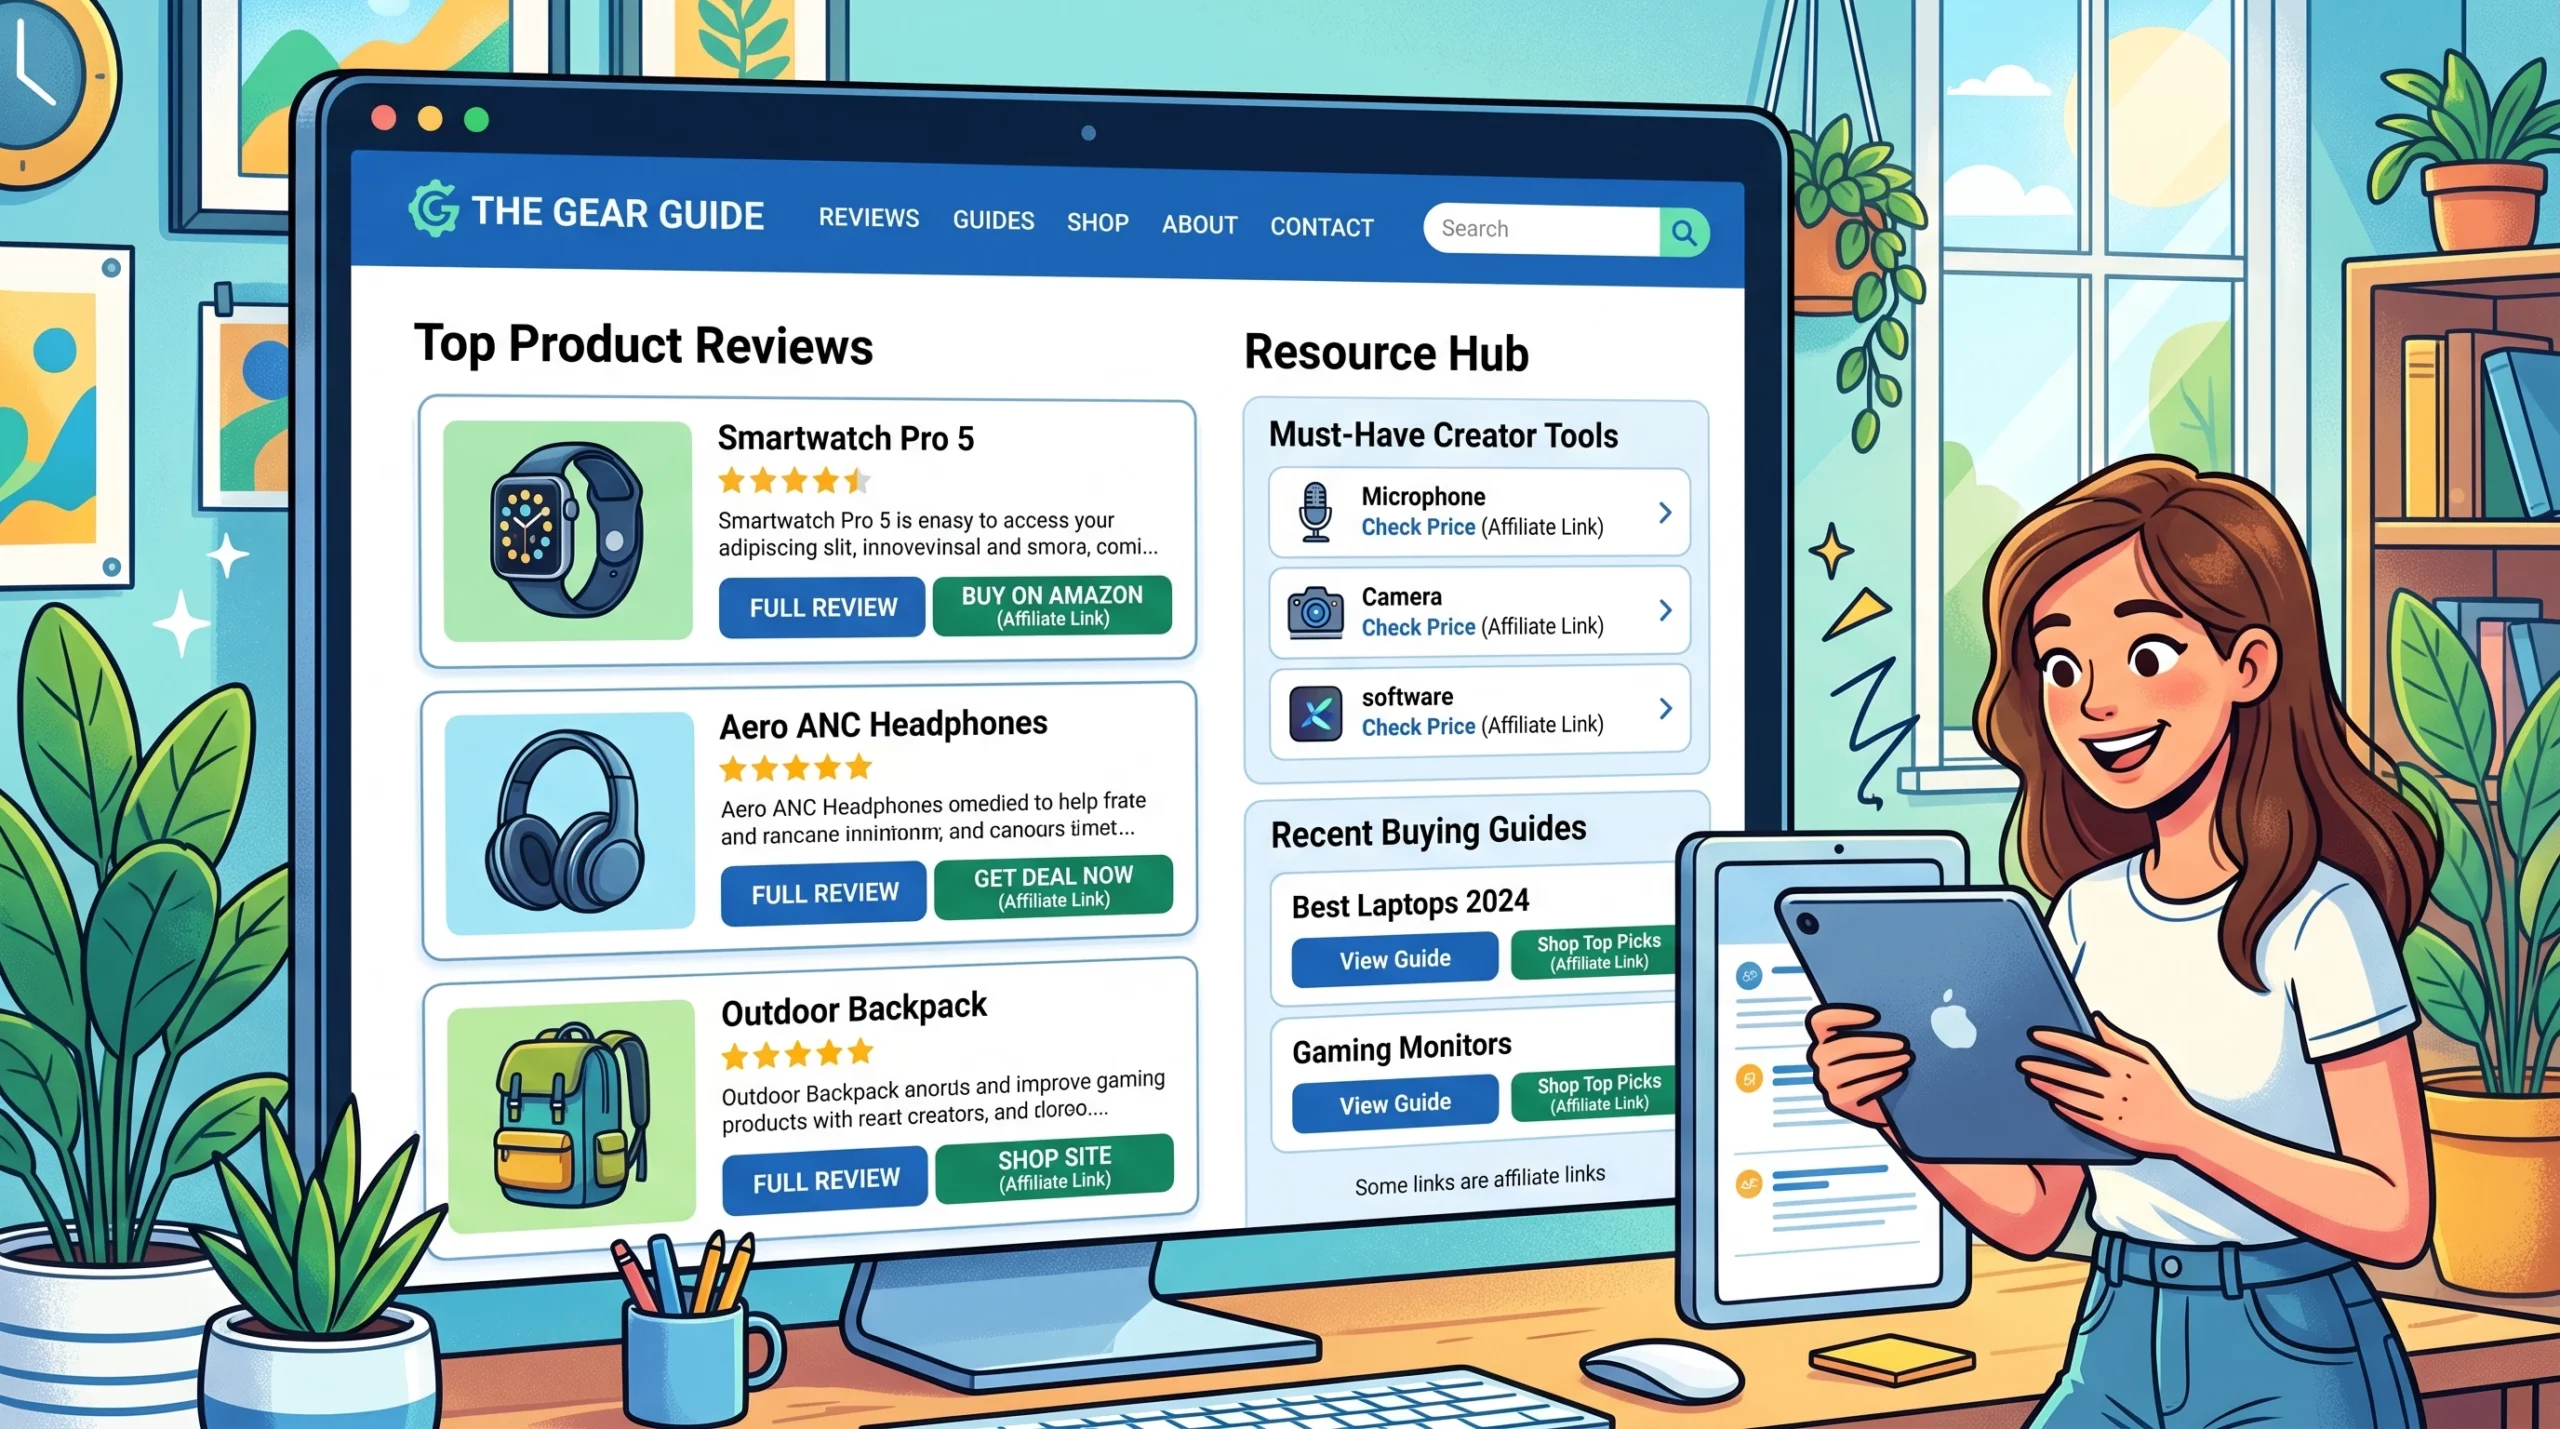
How To Set Up Affiliate Links Properly
-
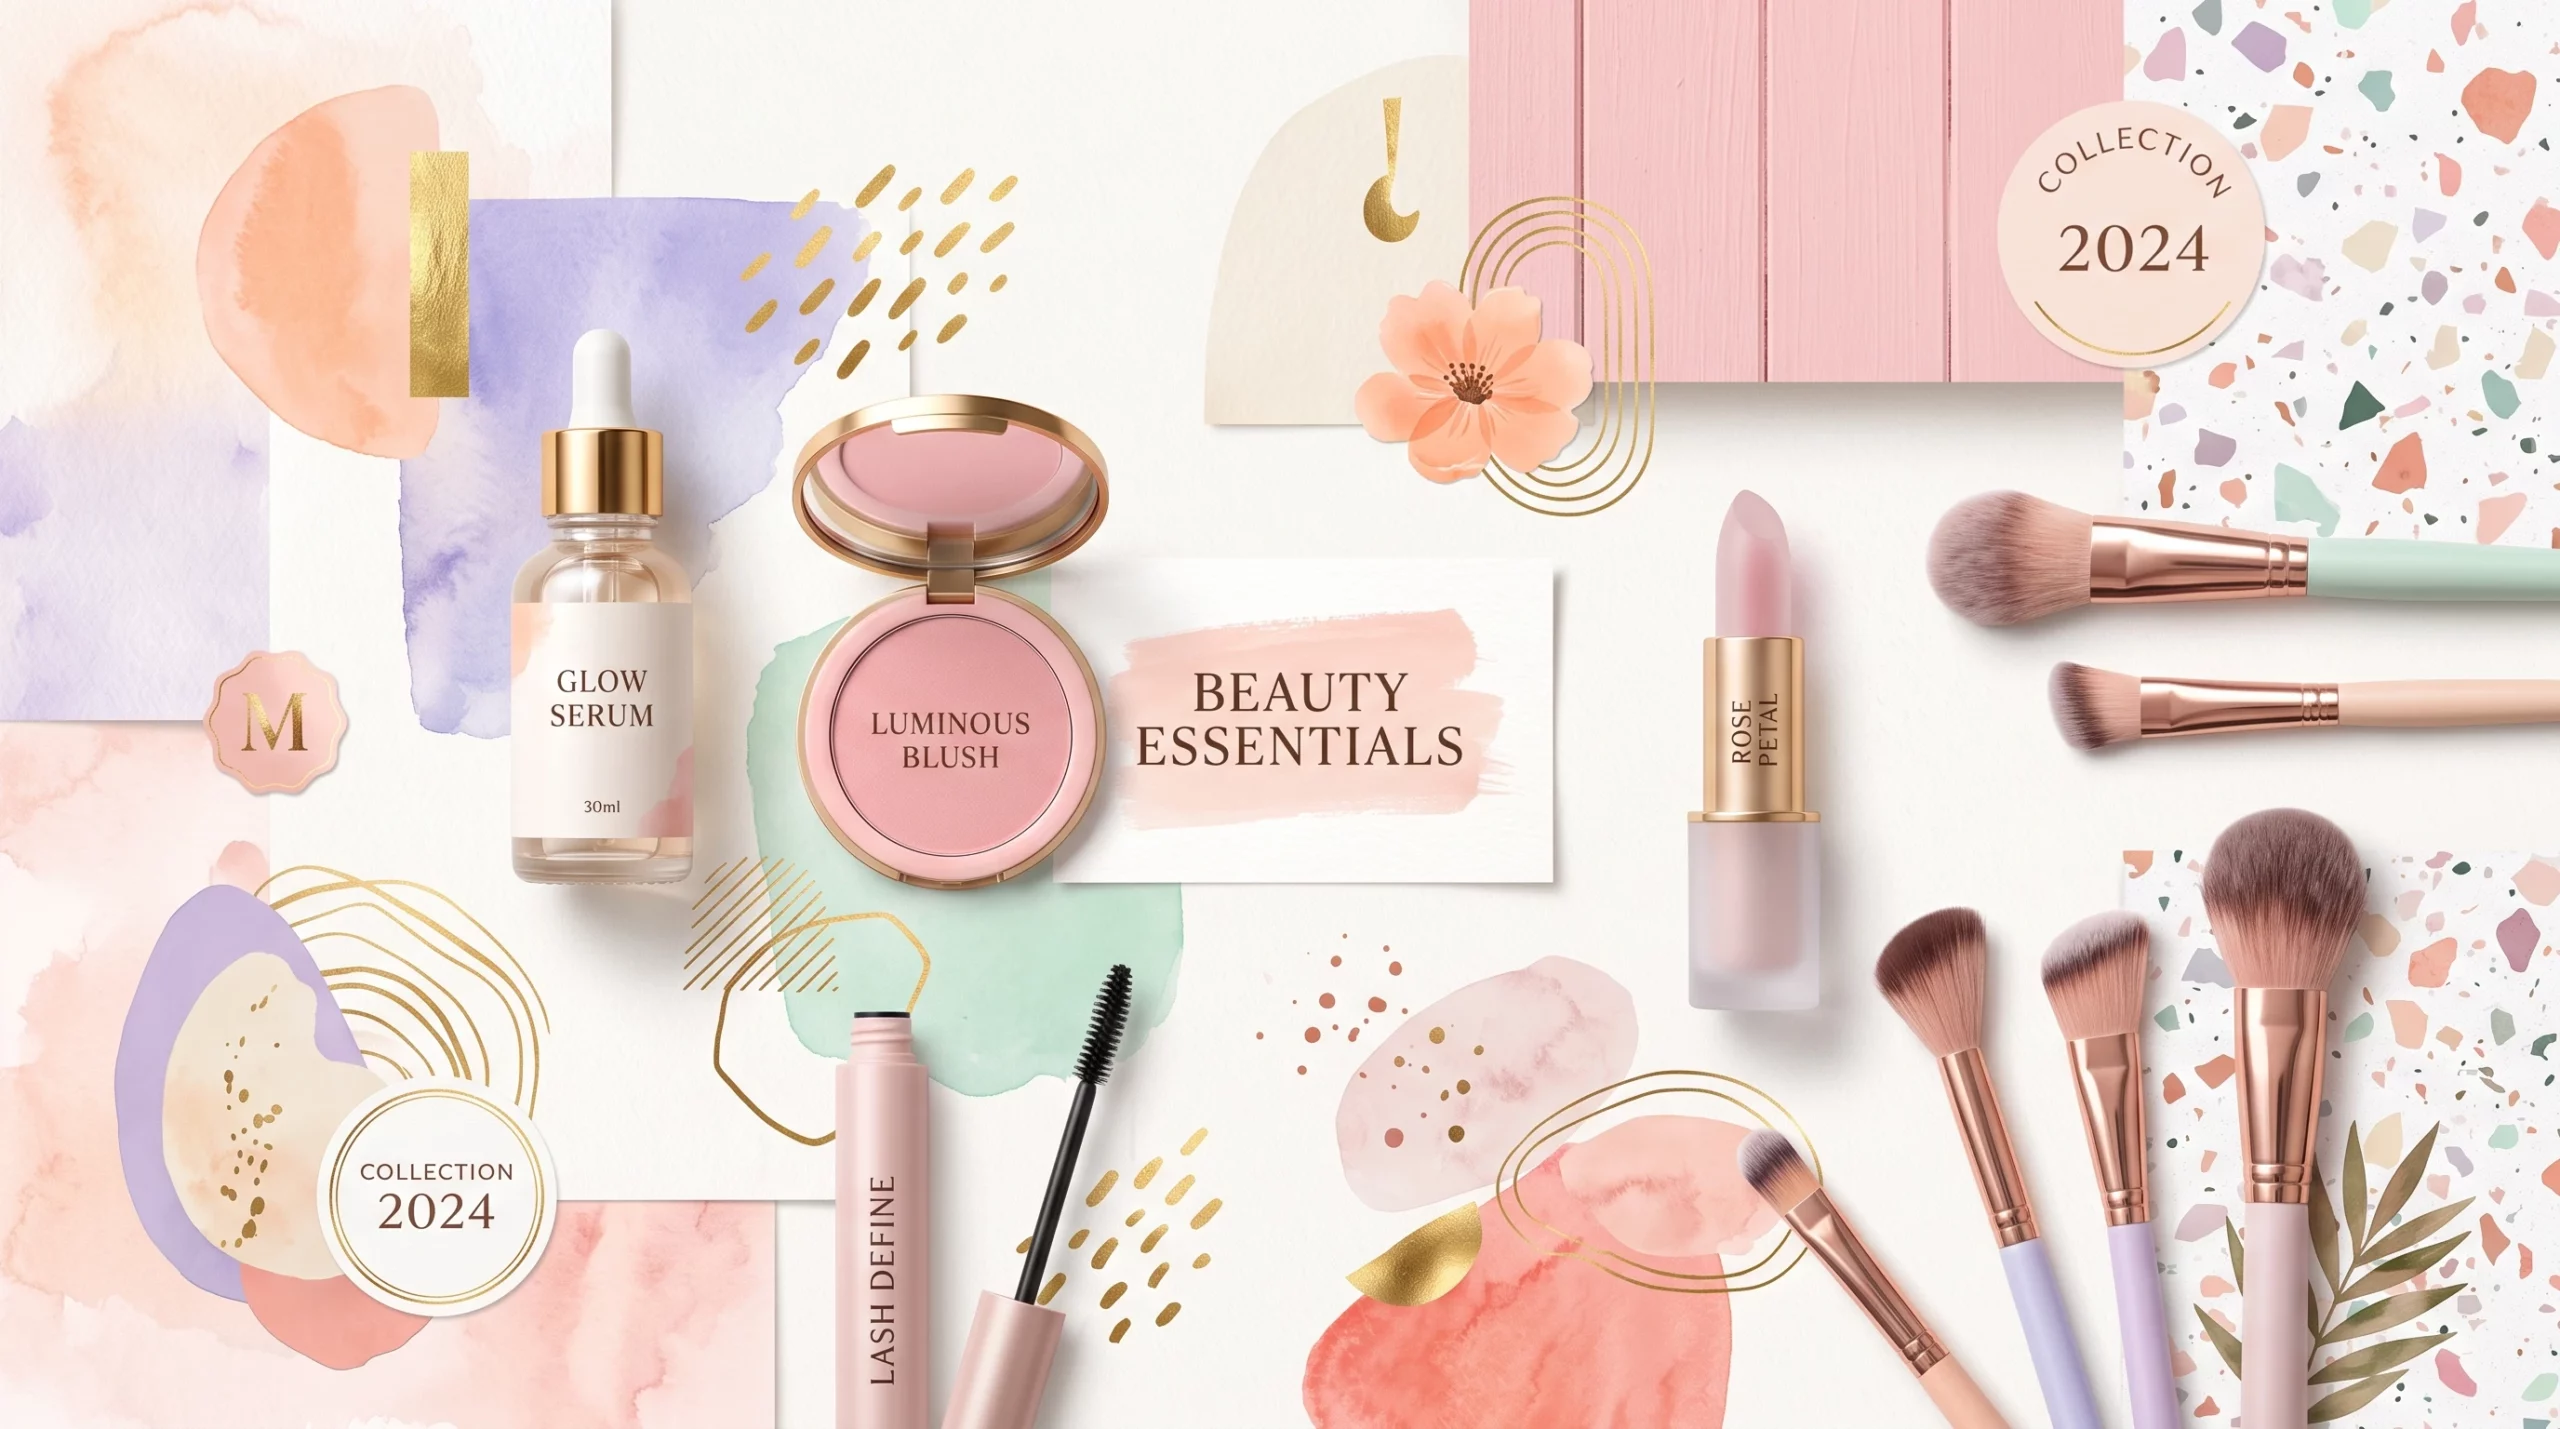
Tools For Creating Stunning Beauty Graphics
-
Write SEO Optimized Posts For Beauty Niches
-
The Top Keyword Research Tools For Beauty Niches
Join a thriving community
Stay in the loop with everything you need to know
And build your own online presence!